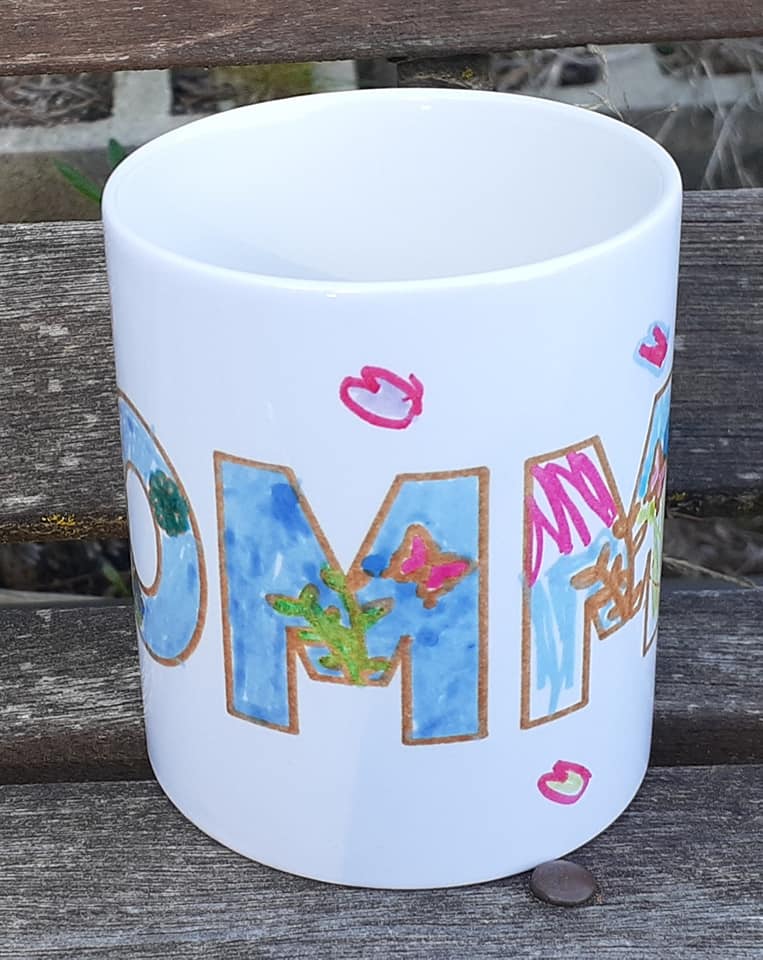
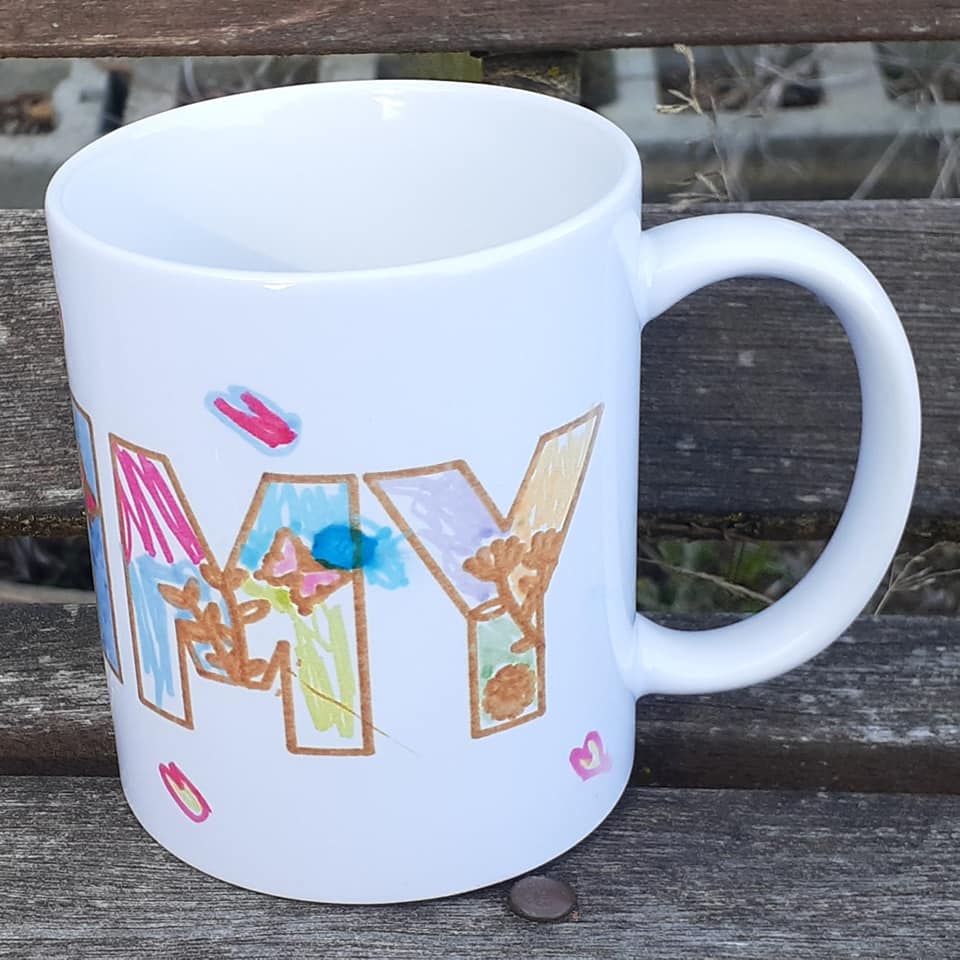
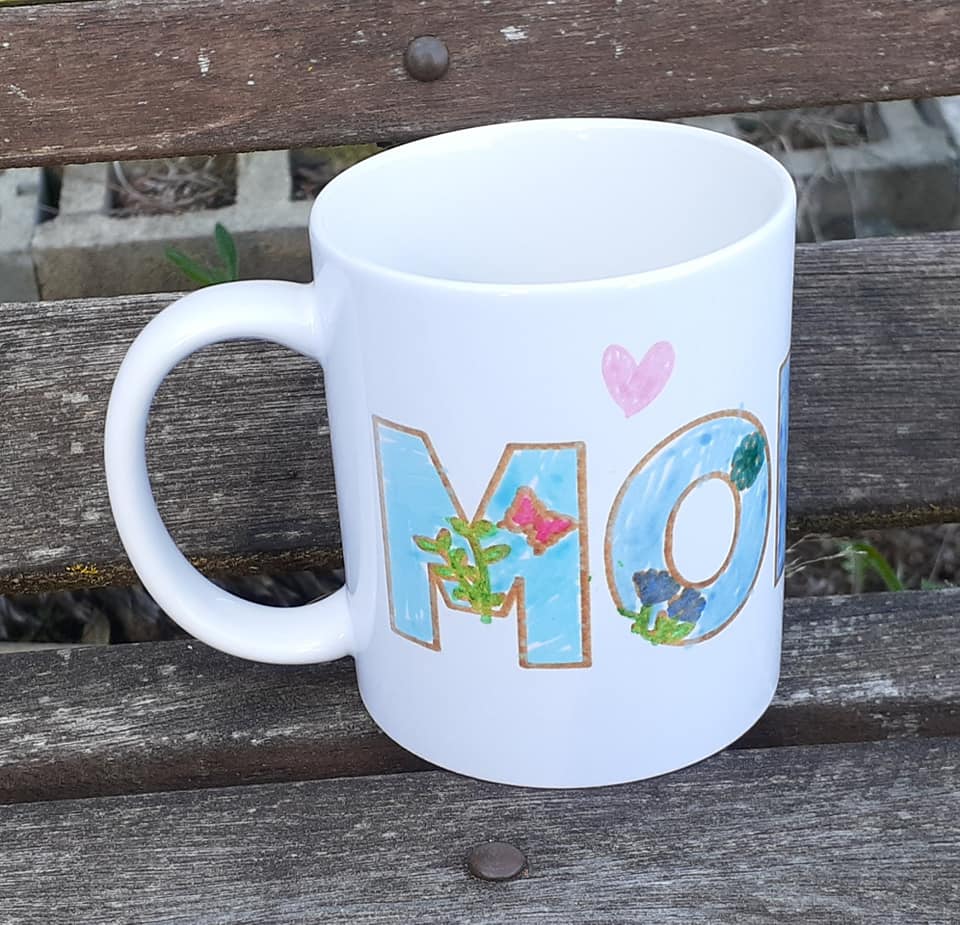
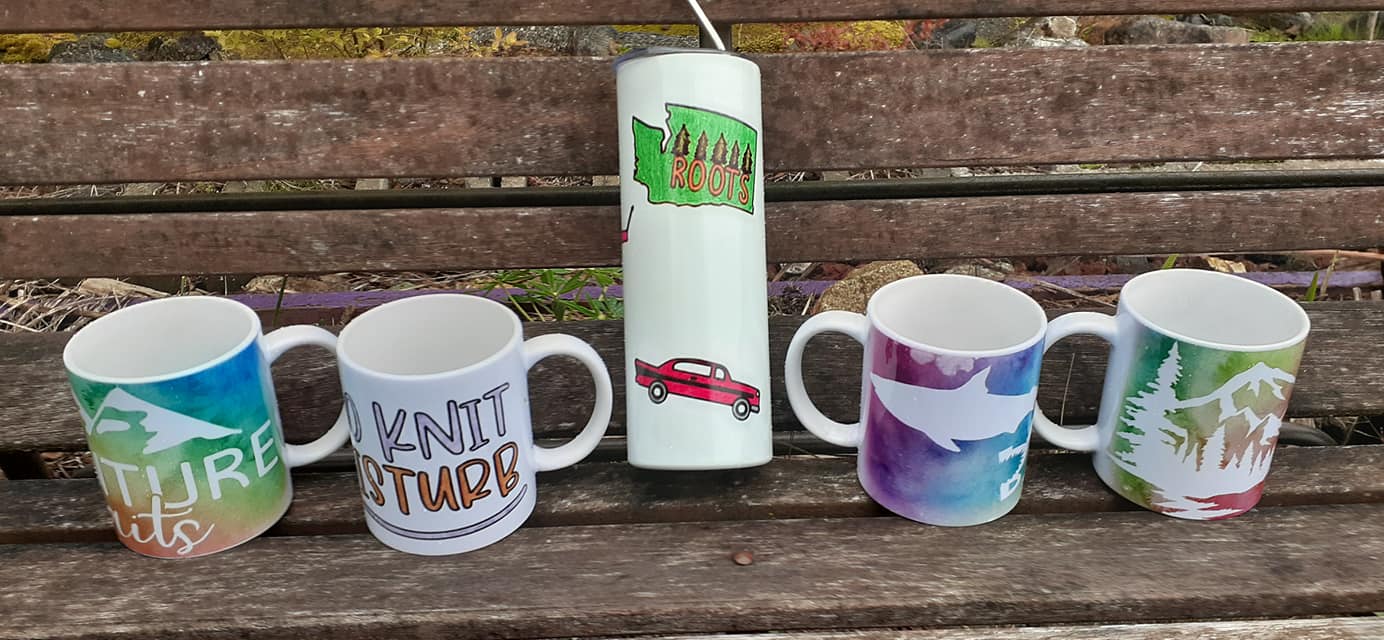
Ok, so now it was time for me to try out another brand. This time I was specifically looking for solid colors. I wanted to start making multiple color designs. So I bought this set. https://www.amazon.com/gp/product/B09LHLXBCW/ref=ppx_yo_dt_b_search_asin_title?ie=UTF8&th=1
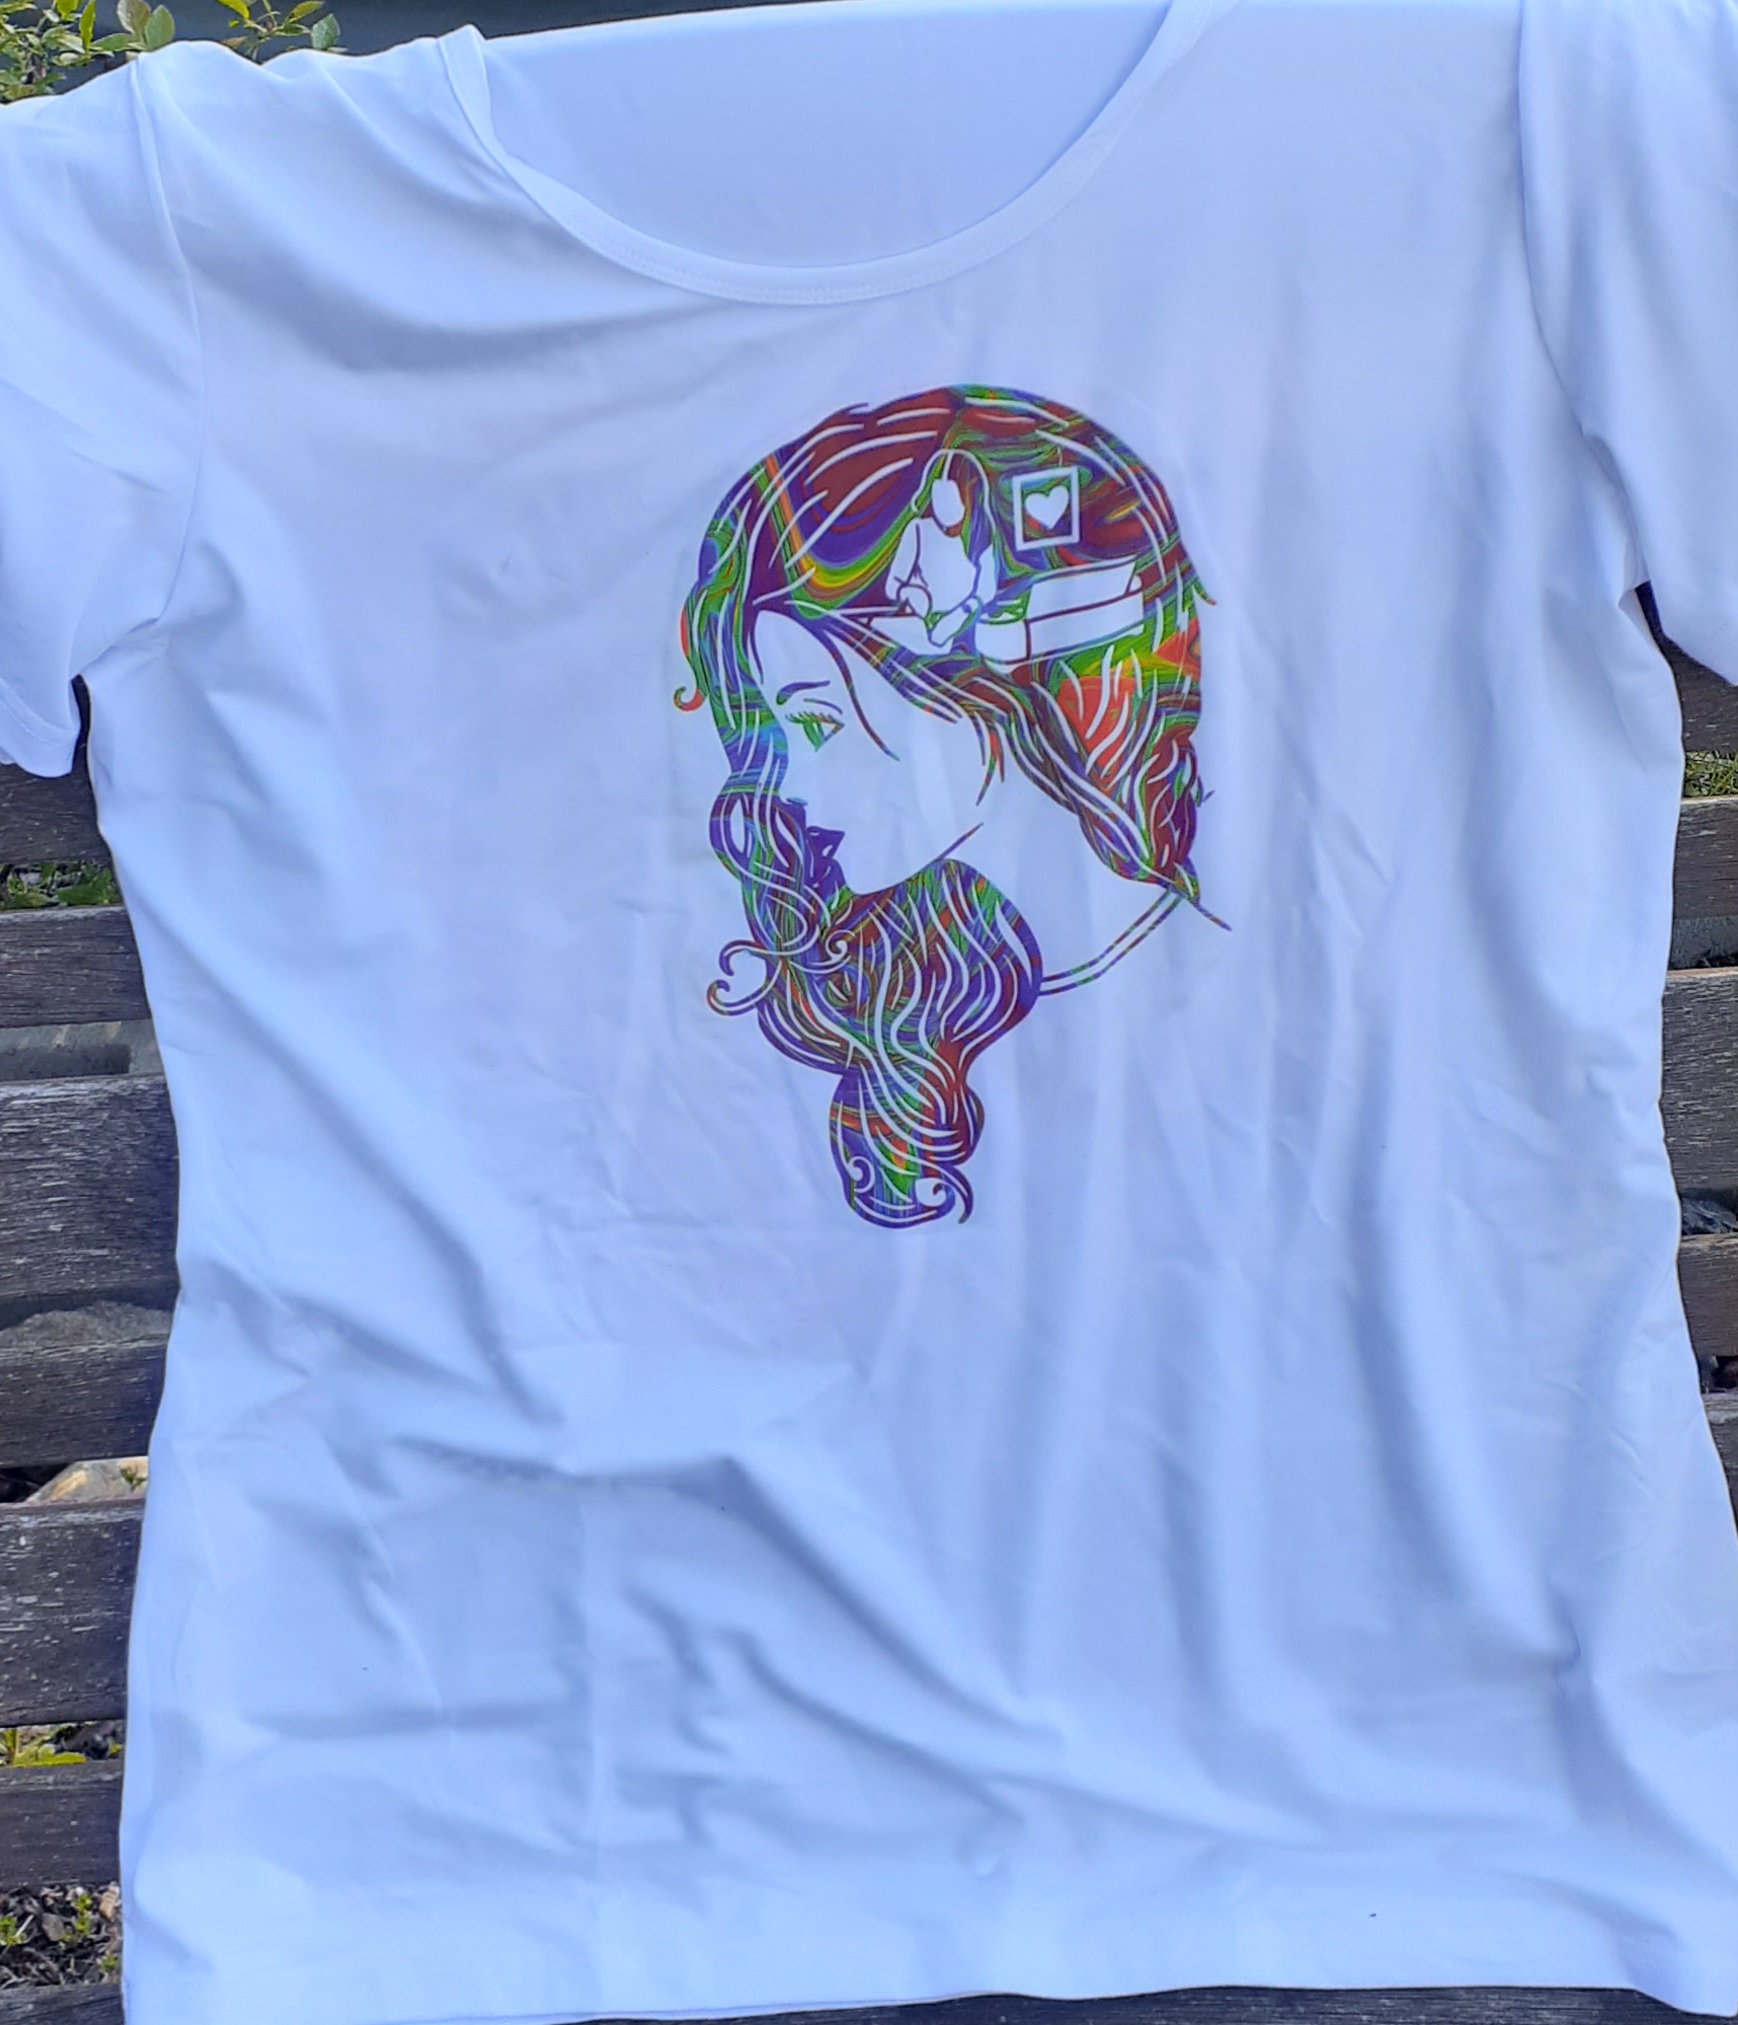
I love the colors. I love that each color is labeled. When you get the sheets the colors are muted and it is hard to tell what color they are. They don’t become dark and vibrant until heat is added and you press them into the design. The carrier sheet is a nice degree of stickiness. There are two problems with this brand neither one will keep me from purchasing it. One it is thinner so you need to adjust your cutting thickness. For all of the other brands, I use infusible ink setting with more pressure. With this one, I use infusible ink set with less pressure. The other is the carrier sheet often changes the color of the item. I have solved this by doing one of two things. If it is a more complicated design I make sure and cut around it in a way that it looks like the marks are a border. If it is a simple design I transfer the images to another carrier sheet. The infusible ink is similar to a lightweight cardstock so it is easy enough to pick it up and move it. This is what I used and it didn’t leave any marks or residue. https://www.amazon.com/gp/product/B07Z4LP271/ref=ppx_yo_dt_b_search_asin_title?ie=UTF8&psc=1
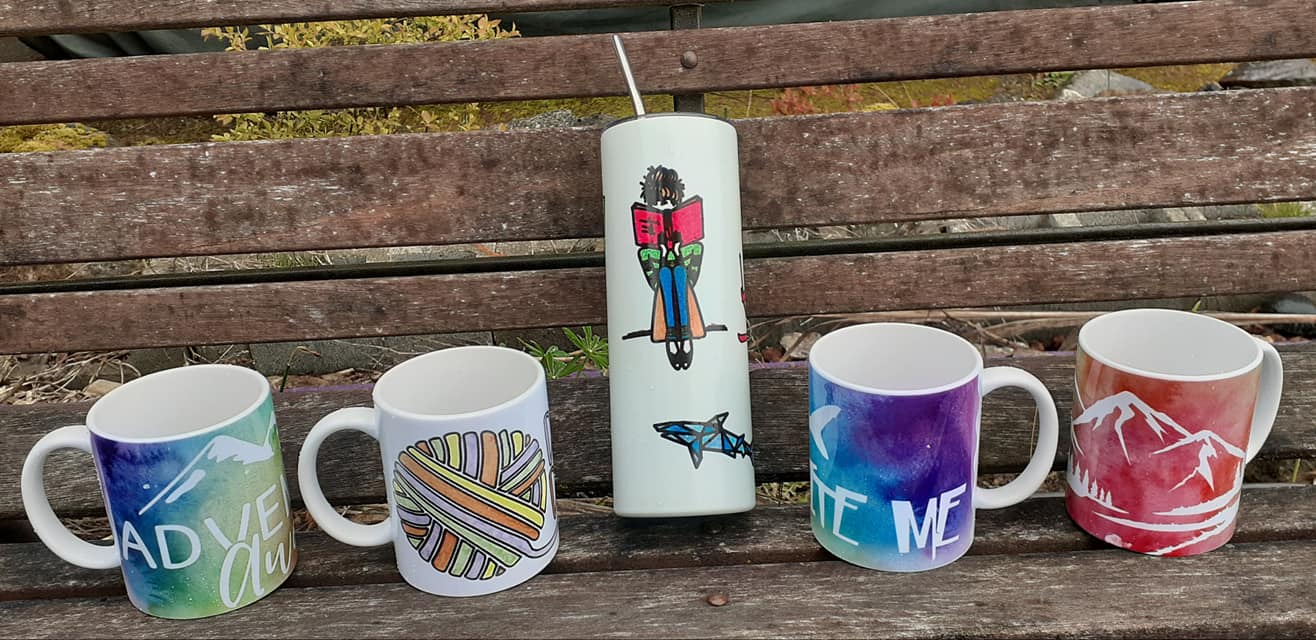
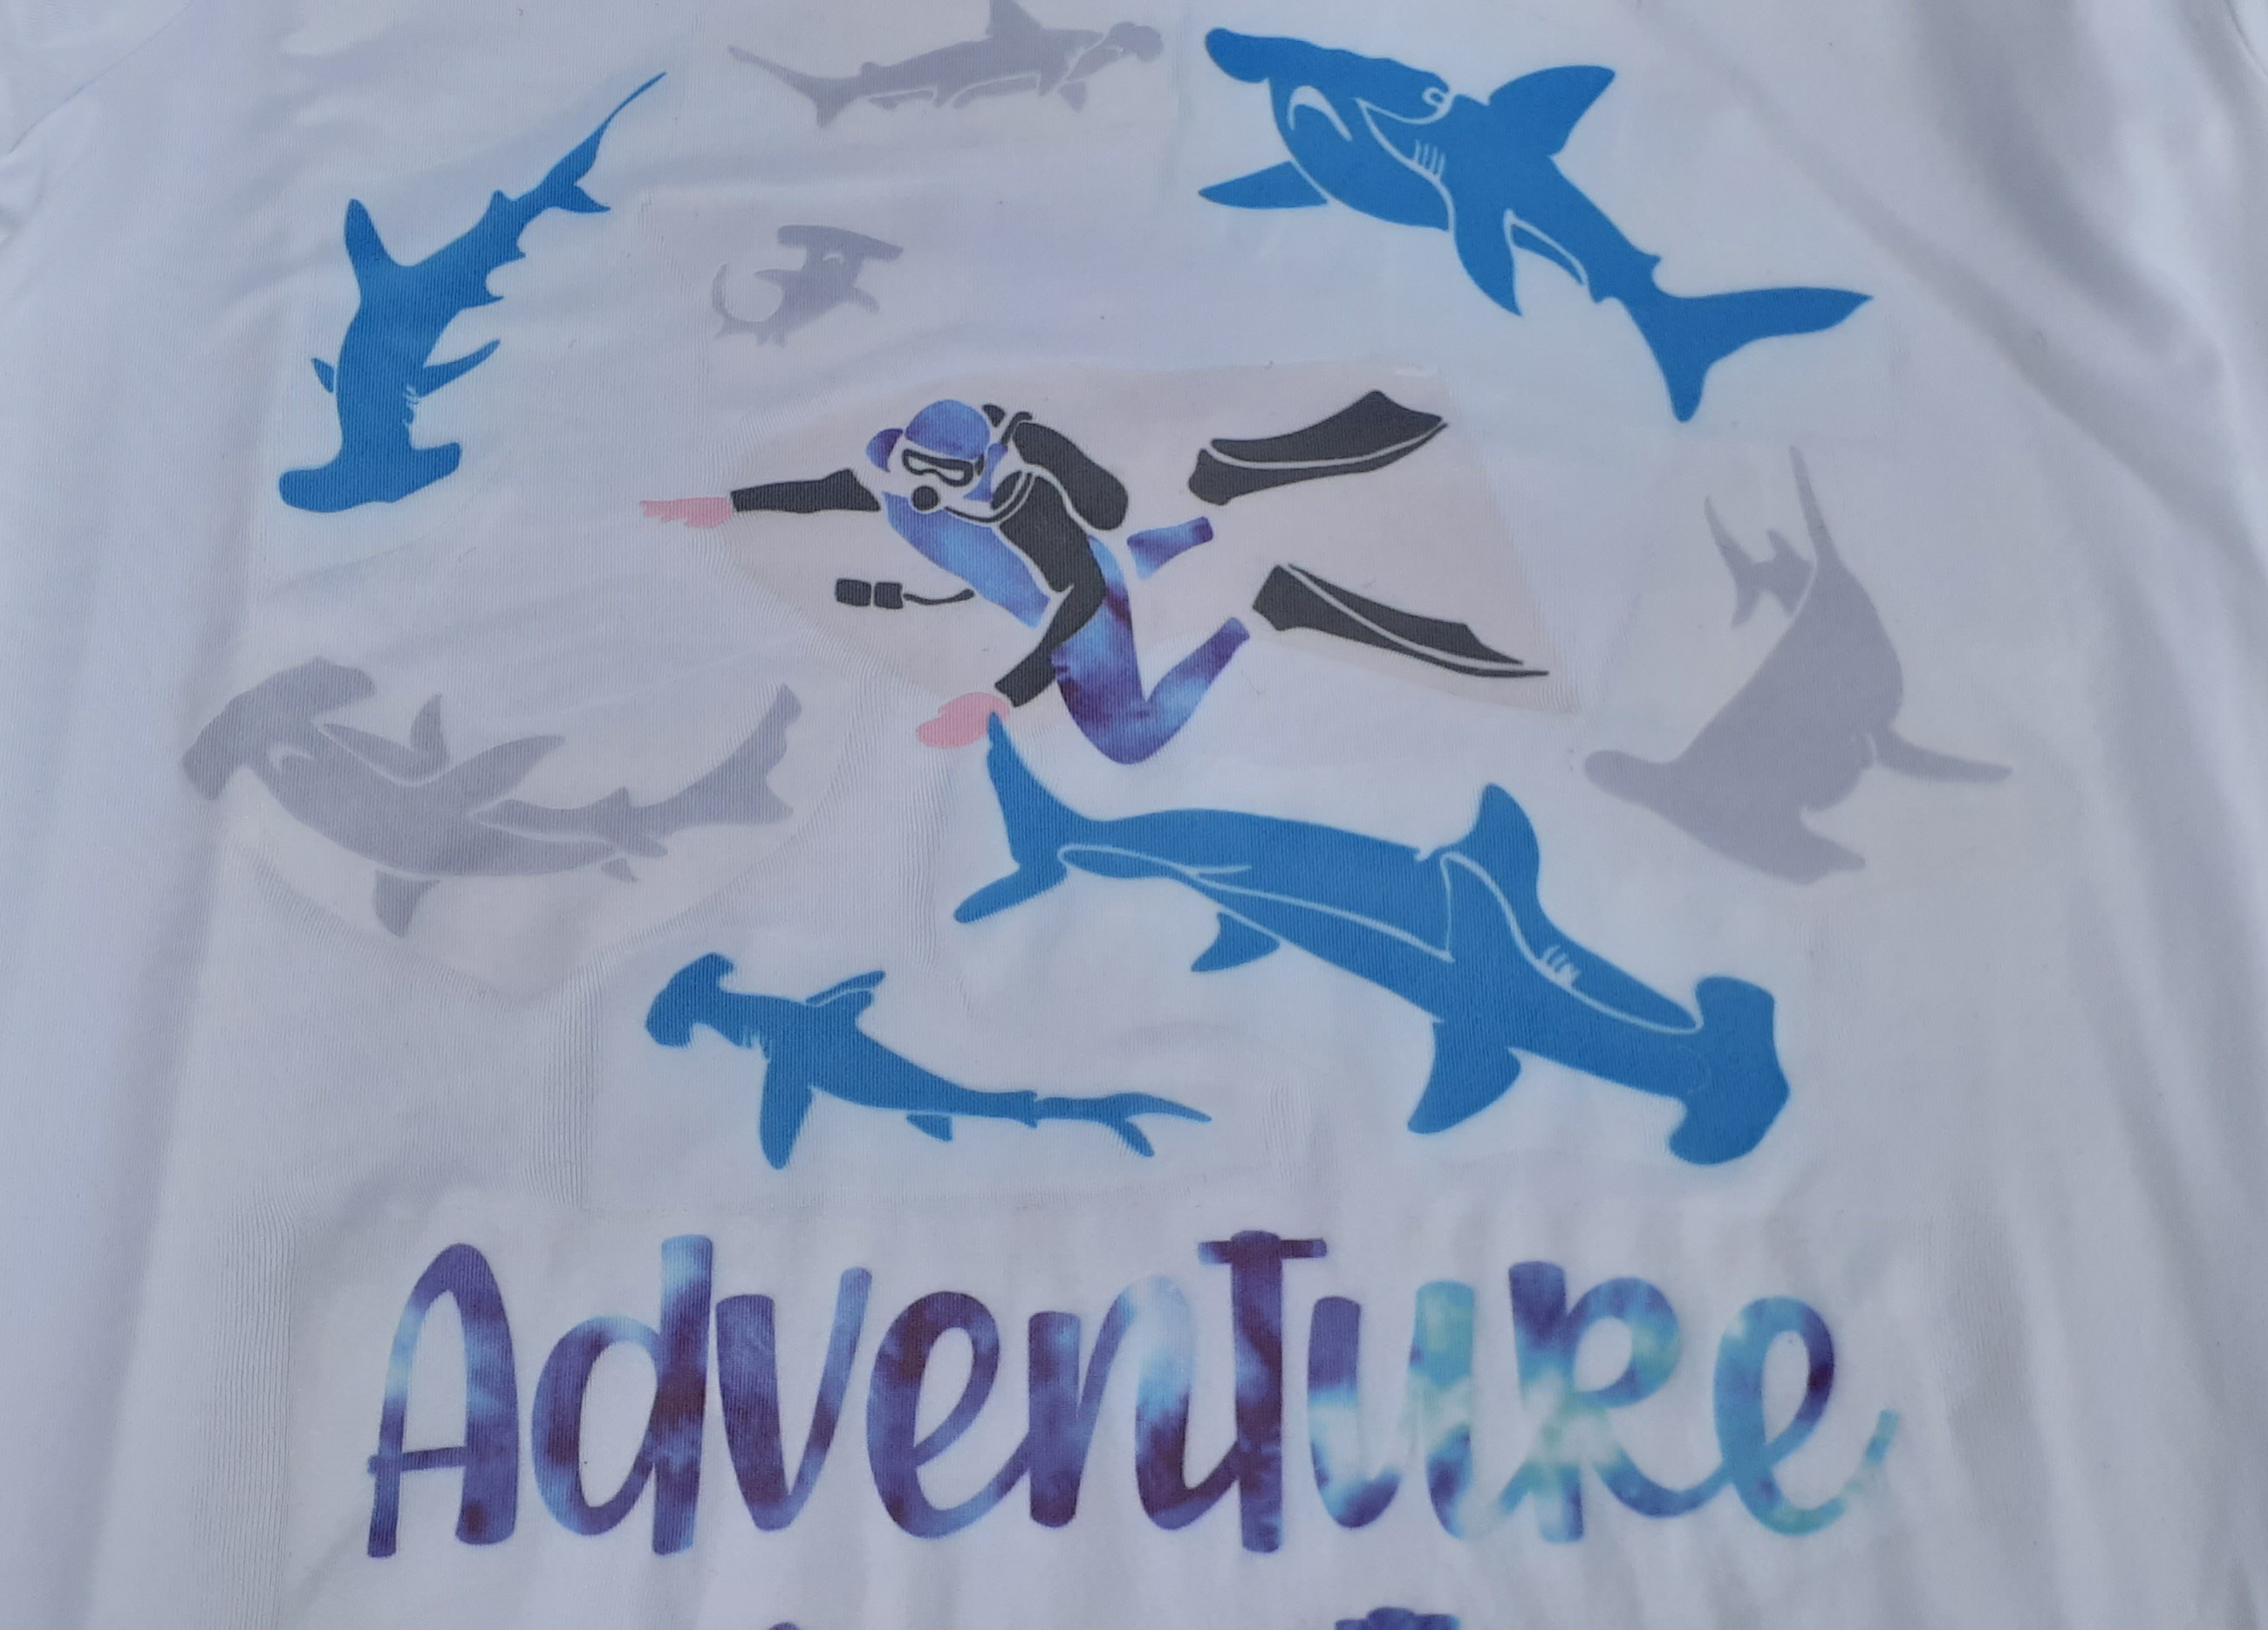
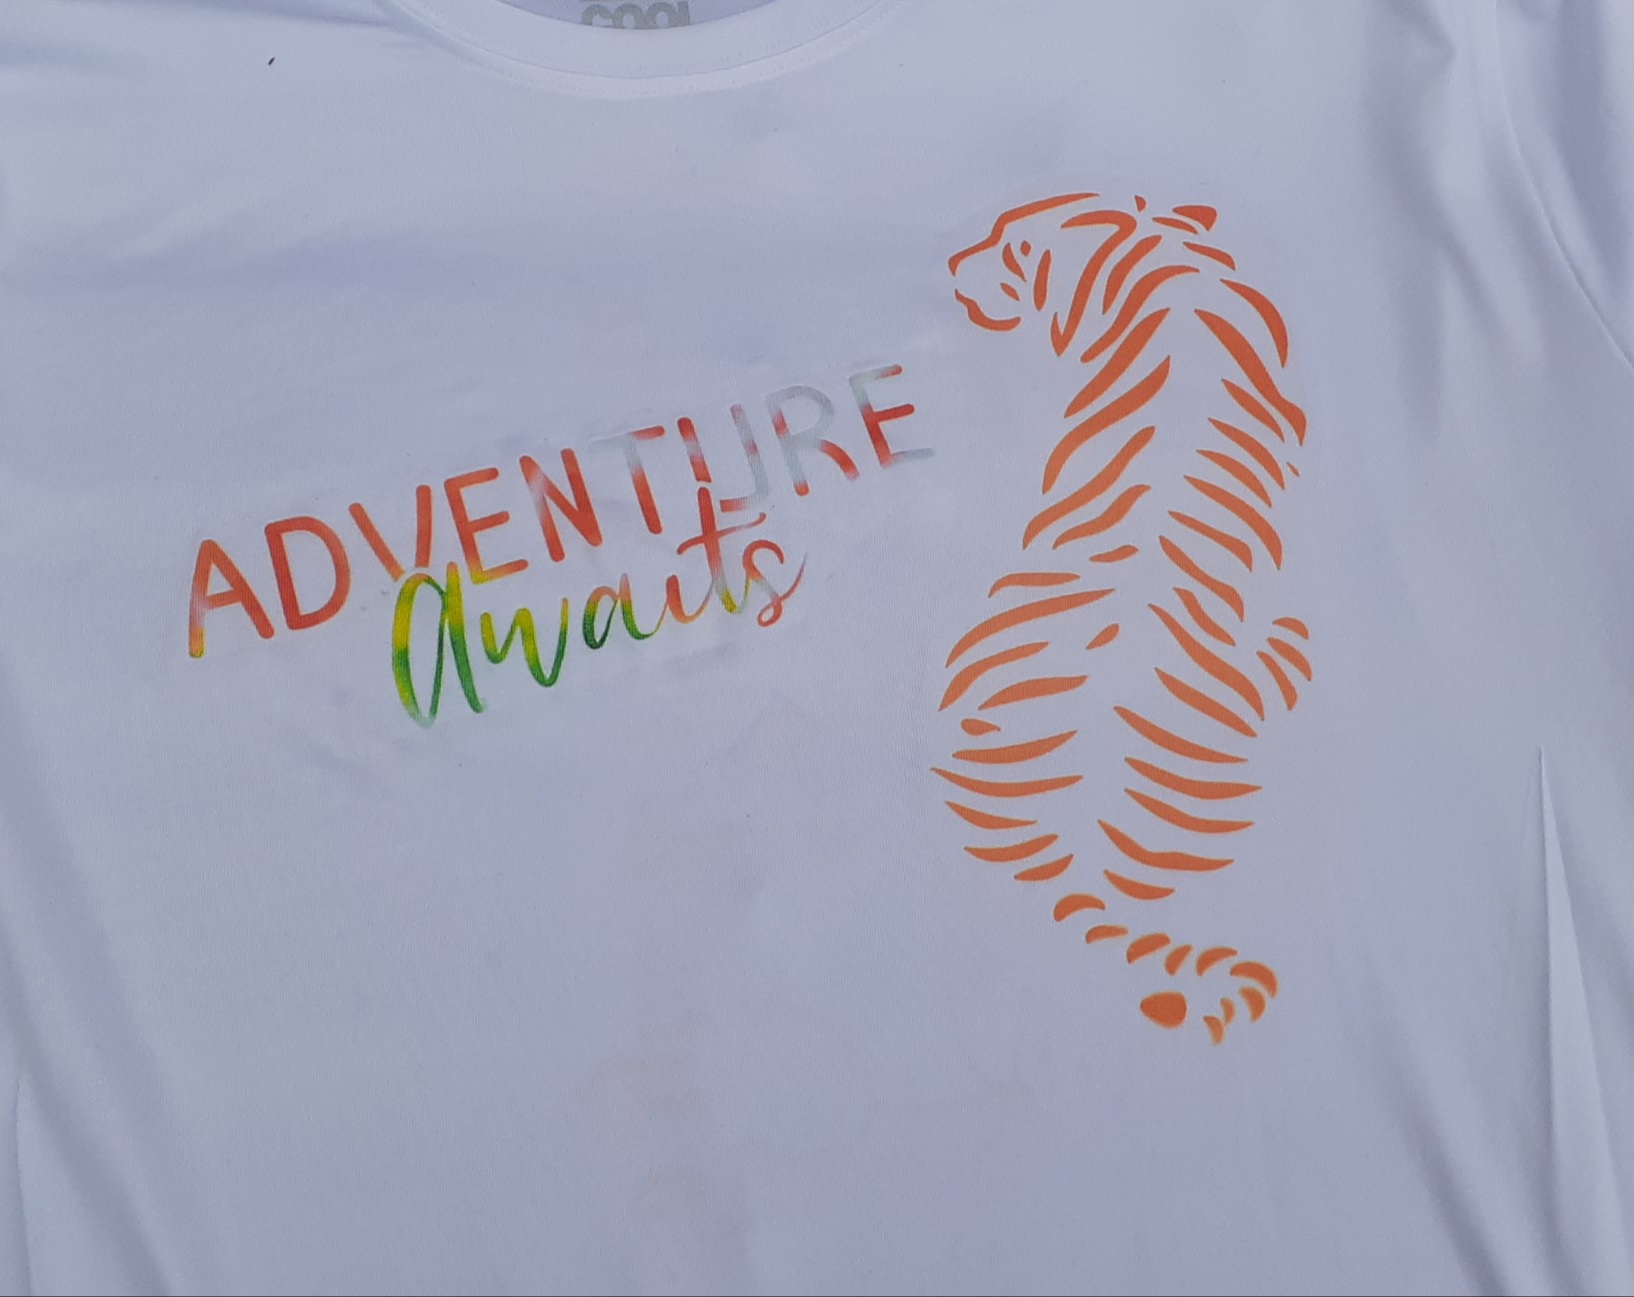
The scuba suit and wording and the wording on the tiger shirt and from a different brand. https://www.amazon.com/IVYSHION-Sheets-Infusible-Transfer-Sublimation/dp/B09SP5R538?ref_=ast_sto_dp&th=1
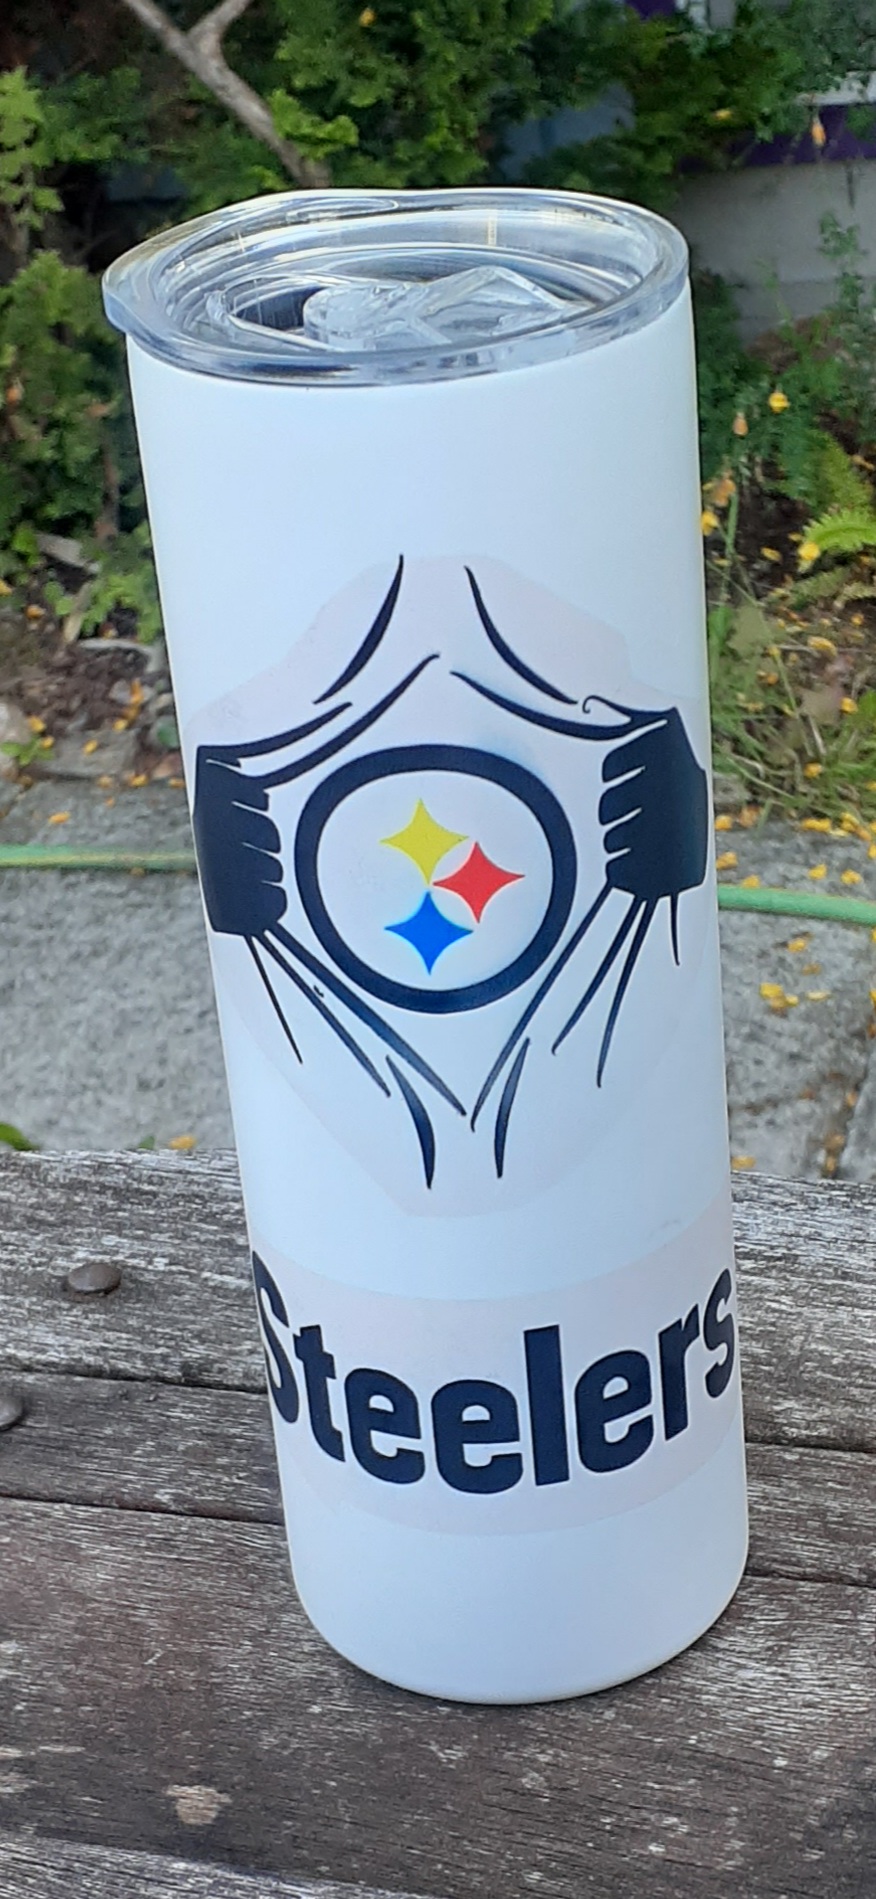
The solids are all https://www.amazon.com/gp/product/B09LHLXBCW/ref=ppx_yo_dt_b_search_asin_title?ie=UTF8&psc=1
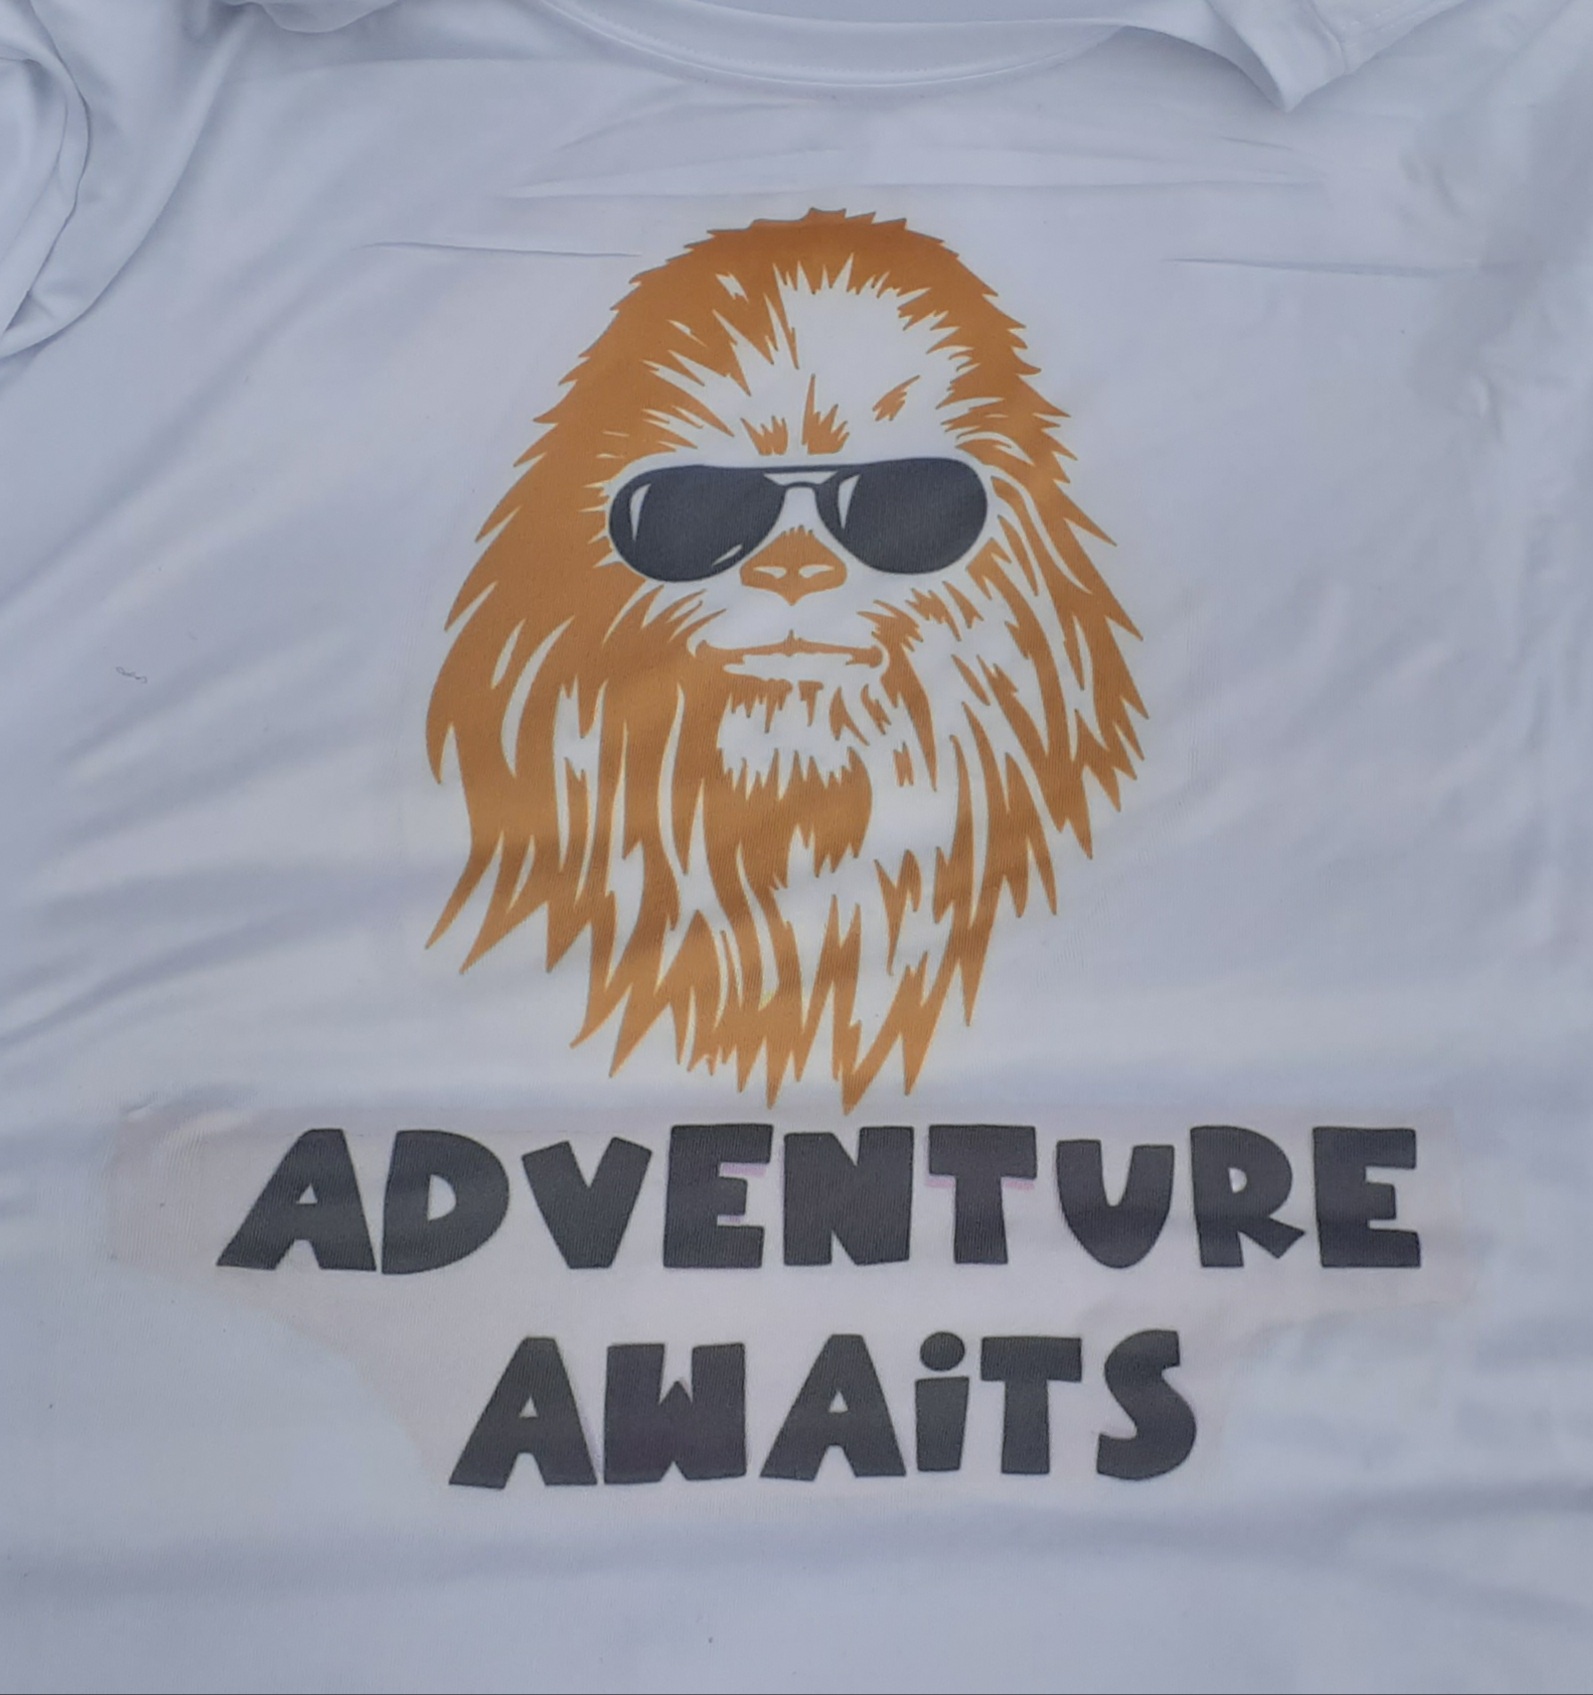
Kaysu also has some gorgeous patterns. I haven’t noticed the problem of the transfer sheet darkening the items with the patterns.